Introduction to Campfire S’mores Bark Recipe
As a passionate home cook, I often find myself reminiscing about those warm summer nights spent around a crackling campfire. The air was filled with laughter, stories, and the sweet aroma of melting chocolate and toasted marshmallows. It was during one of those magical evenings that I first tasted the classic campfire s’mores. The gooey marshmallow, the rich chocolate, and the crunchy graham crackers created a symphony of flavors that danced on my taste buds.
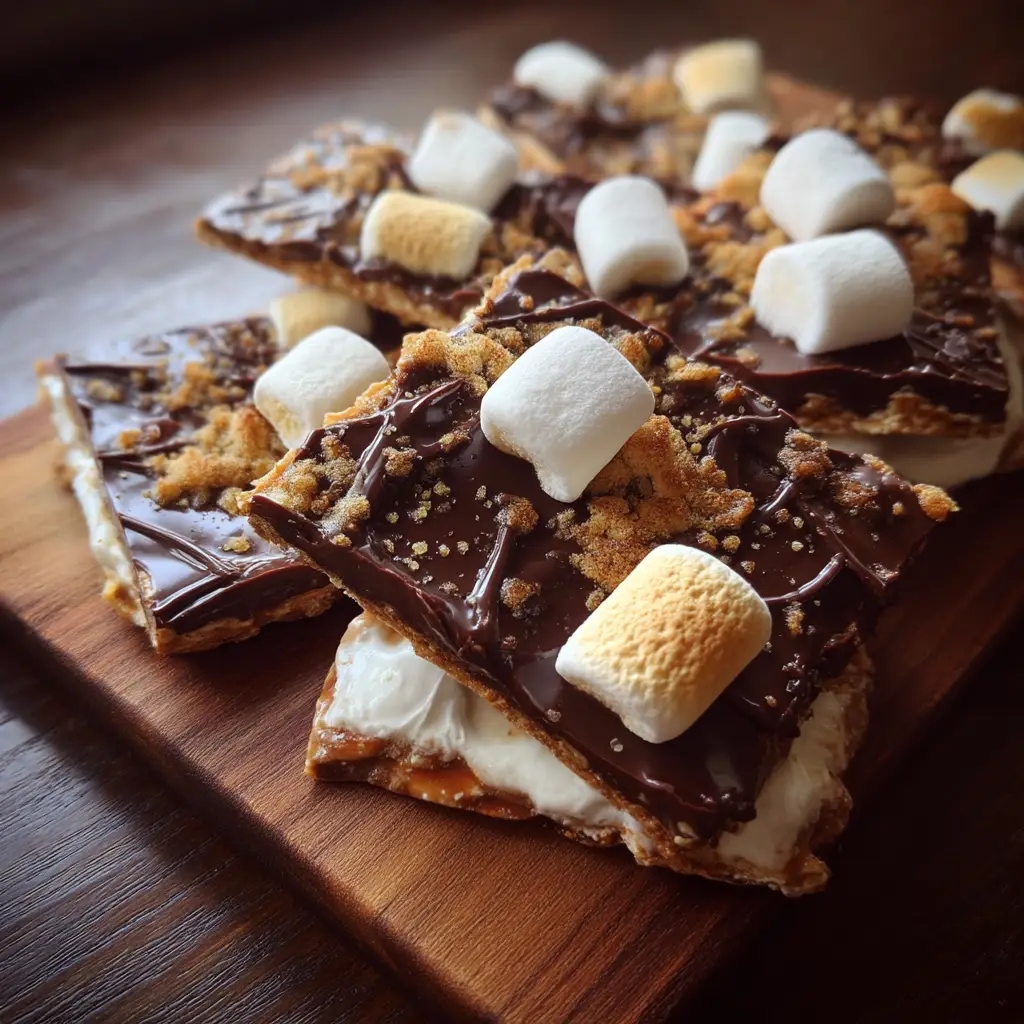
But what if I told you that you could capture that same delightful experience in a simple, no-bake treat? Enter my Campfire S’mores Bark Recipe! This recipe is a delightful twist on the traditional s’mores, allowing you to enjoy that nostalgic flavor any time of the year, without the need for a campfire. It’s perfect for gatherings, movie nights, or just a sweet indulgence after a long day.
In this recipe, I’ll guide you through creating a deliciously layered bark that combines all the elements of s’mores in a fun and easy way. Imagine breaking off a piece of this chocolatey goodness, with bits of crunchy graham crackers and fluffy marshmallows peeking through. It’s like a cozy campfire hug wrapped in chocolate!
So, grab your apron and let’s embark on this sweet adventure together. I promise, once you try this Campfire S’mores Bark, you’ll be hooked! Whether you’re a seasoned chef or a kitchen newbie, this recipe is sure to bring a smile to your face and warmth to your heart.
Ingredients for Campfire S’mores Bark Recipe
Before we dive into the fun of making this Campfire S’mores Bark, let’s gather our ingredients. I always believe that quality matters, especially when it comes to sweets. Using the best ingredients can elevate your treats from good to absolutely delightful! Here’s what you’ll need:
Main Ingredients
- 2 cups of semi-sweet chocolate chips
- 1 cup of mini marshmallows
- 1 cup of graham cracker crumbs
- 1/2 cup of white chocolate chips (for drizzling)
- 1 tablespoon of coconut oil (optional, for a smoother chocolate)
When choosing chocolate chips, I recommend going for high-quality brands. They melt beautifully and have a rich flavor that makes all the difference. If you prefer a sweeter bark, feel free to use milk chocolate chips instead of semi-sweet.
Optional Add-ons
- 1/2 cup of crushed nuts (like almonds or pecans, for added crunch)
- 1/4 cup of peanut butter chips (for a nutty twist)
- Sprinkles or edible glitter (for a festive touch)
These optional add-ons can take your Campfire S’mores Bark to the next level! I love adding crushed nuts for that extra crunch, and peanut butter chips bring a delightful flavor that pairs perfectly with chocolate. Plus, who doesn’t love a little sparkle on their treats?
Now that we have our ingredients ready, let’s move on to the fun part—preparing this delicious bark!
How to Prepare Campfire S’mores Bark Recipe
Now that we have our ingredients all lined up like eager little soldiers, it’s time to dive into the preparation of our Campfire S’mores Bark! This part is where the magic happens, and I can’t wait to share the steps with you. Let’s get started!
Step 1: Gather Your Ingredients
First things first, make sure you have everything you need within arm’s reach. This makes the process smoother and more enjoyable. I like to lay out all my ingredients on the counter, so I can see them all at once. It’s like setting the stage for a delicious performance!
Tips for Ingredient Quality
When it comes to ingredients, I always opt for the best I can find. For chocolate, look for brands that use real cocoa butter. It makes a world of difference in taste and texture. And don’t skimp on the marshmallows—mini ones are perfect for this recipe because they distribute evenly throughout the bark.
Step 2: Melt the Chocolate
Next up, we need to melt our semi-sweet chocolate chips. You can do this using a microwave or a double boiler. I usually prefer the microwave because it’s quick and easy. Just remember to melt in short bursts to avoid burning the chocolate!
Tips for Melting Chocolate
When melting chocolate in the microwave, heat it in 30-second intervals, stirring in between. This helps the chocolate melt evenly. If you’re using a double boiler, make sure the water doesn’t touch the bottom of the bowl. You want gentle heat, not a boiling cauldron!
Step 3: Combine Ingredients
Once your chocolate is beautifully melted and glossy, it’s time to mix in the fun stuff! Add the graham cracker crumbs and mini marshmallows to the melted chocolate. Stir gently but thoroughly, making sure everything is well-coated in that luscious chocolate.
Tips for Mixing
Be careful not to crush the marshmallows too much while mixing. You want those fluffy bites to remain intact for that delightful texture in every piece of bark. If you’re adding any optional ingredients, like nuts or peanut butter chips, now’s the time to toss them in!
Step 4: Spread and Set
Now comes the fun part—spreading the mixture onto a lined baking sheet! Use a spatula to spread it out evenly, making sure it’s about half an inch thick. This thickness is perfect for breaking into pieces later.
Tips for Spreading Evenly
To get an even spread, start from the center and work your way outwards. If you find the mixture is too sticky, you can lightly grease your spatula with a bit of coconut oil. Once it’s spread out, pop it in the fridge for about 30 minutes to set. The anticipation will be worth it!
Equipment Needed for Campfire S’mores Bark Recipe
Before we dive into the delicious world of Campfire S’mores Bark, let’s make sure we have the right tools at our disposal. Having the right equipment can make the process smoother and more enjoyable. Here’s what you’ll need:
- Microwave-safe bowl or double boiler: This is essential for melting the chocolate. If you don’t have a double boiler, a microwave-safe bowl works just fine!
- Baking sheet: A standard baking sheet will do the trick. Just make sure to line it with parchment paper for easy removal later.
- Spatula: A silicone or rubber spatula is perfect for mixing and spreading the chocolate mixture evenly.
- Measuring cups and spoons: Accurate measurements are key to achieving the perfect bark, so don’t forget these!
- Refrigerator: This is where the magic happens! You’ll need a fridge to set your bark once it’s spread out.
If you don’t have a spatula, you can use the back of a spoon to spread the mixture. And if you’re in a pinch without a baking sheet, a large plate can work as an alternative. Just remember, the goal is to create a flat surface for your bark to set!
With these tools in hand, you’re all set to create your Campfire S’mores Bark. Let’s keep the momentum going and move on to the next delicious step!
Variations of Campfire S’mores Bark Recipe
One of the things I love most about cooking is the freedom to experiment and make a recipe your own. My Campfire S’mores Bark is no exception! Here are a few fun variations that can add a twist to this classic treat:
- Chocolate Lovers Delight: Swap out the semi-sweet chocolate for dark chocolate or even white chocolate for a sweeter bark. You can also mix different types of chocolate for a layered effect!
- Nutty S’mores Bark: Add a variety of nuts, like walnuts or cashews, for a crunchy texture. You can even toast them lightly before mixing them in for an extra depth of flavor.
- Fruit Fusion: Toss in some dried fruits like cranberries or cherries. The tartness of the fruit pairs beautifully with the sweetness of the chocolate and marshmallows.
- Spicy S’mores: For those who like a kick, sprinkle in a pinch of cayenne pepper or chili powder. It adds a surprising heat that complements the sweetness perfectly!
- Seasonal S’mores: During the holidays, consider adding crushed peppermint candies or pumpkin spice for a festive flair. It’s a delightful way to celebrate the season!
These variations not only keep things exciting but also allow you to tailor the Campfire S’mores Bark to your taste preferences. So, don’t be afraid to get creative and make this recipe your own!
Cooking Notes for Campfire S’mores Bark Recipe
As I’ve learned through my culinary adventures, a few cooking notes can make all the difference in achieving that perfect Campfire S’mores Bark. Here are some tips that I’ve gathered along the way:
- Storage: Once your bark is set and ready to go, store it in an airtight container. This keeps it fresh and prevents it from becoming too soft. I usually place a piece of parchment paper between layers to avoid sticking.
- Serving Size: When breaking the bark into pieces, I like to use a sharp knife for clean cuts. You can also break it by hand for a more rustic look. Just be careful not to make the pieces too small; you want to enjoy every delicious bite!
- Melting Chocolate: If you find your chocolate is too thick after melting, adding a teaspoon of coconut oil can help thin it out. This little trick ensures a smooth and glossy finish.
- Chilling Time: While I recommend chilling the bark for at least 30 minutes, if you’re in a hurry, you can pop it in the freezer for about 15 minutes. Just keep an eye on it to avoid freezing!
- Flavor Infusion: For an extra layer of flavor, consider adding a splash of vanilla extract to the melted chocolate. It enhances the overall taste and makes it even more delightful!
These cooking notes are like little nuggets of wisdom I’ve picked up over time. They help ensure that your Campfire S’mores Bark turns out just as delicious as you imagined. Happy cooking!
Serving Suggestions for Campfire S’mores Bark Recipe
Now that your Campfire S’mores Bark is ready to be devoured, let’s talk about how to serve it up in style! Presentation can elevate your treat from simple to spectacular, and I love to get a little creative when it comes to serving. Here are some of my favorite ideas:
- On a Rustic Platter: Arrange the bark pieces on a wooden or slate platter. This gives a charming, outdoorsy vibe that complements the campfire theme.
- With a Side of Dipping Sauce: Serve the bark with a small bowl of melted chocolate or caramel for dipping. It adds an extra layer of indulgence that everyone will love!
- As Party Favors: Cut the bark into bite-sized pieces and package them in clear cellophane bags tied with a ribbon. They make delightful party favors for gatherings or special occasions.
- With Ice Cream: Crumble the bark over a scoop of vanilla or chocolate ice cream. The combination of cold ice cream and crunchy bark is simply heavenly!
- Garnished with Fresh Fruit: Pair the bark with fresh strawberries or raspberries. The tartness of the fruit balances the sweetness of the bark beautifully.
These serving suggestions not only enhance the visual appeal but also create a fun and interactive experience for your guests. Whether it’s a cozy family night or a festive gathering, your Campfire S’mores Bark will surely steal the show!
Tips for Perfecting Campfire S’mores Bark Recipe
As I’ve whipped up my fair share of Campfire S’mores Bark, I’ve gathered a treasure trove of tips that can help you achieve that perfect balance of flavors and textures. Here are some of my favorite nuggets of wisdom to ensure your bark turns out just right:
- Use Quality Chocolate: The chocolate is the star of this recipe, so don’t skimp! High-quality chocolate chips melt beautifully and provide a rich flavor that elevates the entire bark.
- Don’t Rush the Melting: Take your time when melting the chocolate. Slow and steady wins the race! This prevents burning and ensures a smooth, glossy finish.
- Mix Gently: When combining the ingredients, stir gently to keep the marshmallows fluffy. You want those delightful bites of marshmallow to shine through in every piece!
- Chill for Best Results: Allow the bark to chill completely before cutting. This helps it set properly and makes it easier to break into clean pieces.
- Experiment with Flavors: Don’t hesitate to play around with different add-ins or flavorings. Whether it’s a sprinkle of sea salt or a dash of cinnamon, these little touches can make a big difference!
By keeping these tips in mind, you’ll be well on your way to creating a Campfire S’mores Bark that’s not only delicious but also a true crowd-pleaser. Happy baking!
Breakdown of Time for Campfire S’mores Bark Recipe
As a home cook, I know that time is often of the essence, especially when you’re eager to indulge in a sweet treat like Campfire S’mores Bark. Here’s a quick breakdown of the time you’ll need to whip up this delightful recipe:
- Prep Time: 15 minutes – This includes gathering your ingredients, melting the chocolate, and mixing everything together. It’s a quick and enjoyable process!
- Cooking Time: 0 minutes – Since this is a no-bake recipe, there’s no cooking involved. Just melt, mix, and chill!
- Total Time: 45 minutes – This accounts for the prep time and the chilling time needed for the bark to set in the refrigerator.
With just 15 minutes of active preparation and a little patience while it chills, you’ll be on your way to enjoying a delicious batch of Campfire S’mores Bark. It’s the perfect treat for any occasion, and the best part? You can savor that campfire flavor without ever leaving your kitchen!
Nutritional Information for Campfire S’mores Bark Recipe
As a passionate home cook, I always find it helpful to know the nutritional content of the treats I whip up. While Campfire S’mores Bark is undeniably a sweet indulgence, it’s nice to have a general idea of what’s in it. Here’s a breakdown of the nutritional information per serving, assuming you cut the bark into 12 pieces:
- Calories: Approximately 180 calories
- Fat: 9g (Saturated Fat: 5g)
- Carbohydrates: 24g (Sugars: 18g)
- Protein: 2g
- Fiber: 1g
Keep in mind that these values can vary based on the specific brands of ingredients you use and any optional add-ons you choose to include. If you’re looking to lighten things up a bit, consider using dark chocolate or reducing the amount of chocolate chips. Remember, it’s all about balance and enjoying your treats in moderation!
Frequently Asked Questions about Campfire S’mores Bark Recipe
As I’ve shared my Campfire S’mores Bark Recipe with friends and family, I’ve noticed a few common questions pop up. It’s always great to clarify any doubts and ensure everyone can enjoy this delightful treat to the fullest. Here are some of the most frequently asked questions I’ve encountered:
Can I use different types of chocolate?
Absolutely! One of the best things about this recipe is its versatility. You can use dark chocolate, milk chocolate, or even white chocolate. Each type brings its own unique flavor, so feel free to experiment and find your favorite combination!
How should I store the Campfire S’mores Bark?
To keep your bark fresh and delicious, store it in an airtight container at room temperature. If you live in a warm climate, you might want to keep it in the fridge to prevent it from melting. Just remember to let it sit at room temperature for a few minutes before enjoying, so it’s not too hard!
Can I make this recipe vegan?
<pYes, you can! To make a vegan version of Campfire S’mores Bark, simply use dairy-free chocolate chips and ensure your marshmallows are vegan-friendly. There are many great options available now that cater to different dietary preferences!
How long does the bark last?
If stored properly, your Campfire S’mores Bark can last up to two weeks. However, I doubt it will last that long because it’s so delicious! Just keep an eye on it for any signs of staleness, and enjoy it while it’s fresh!
Can I add other ingredients to the bark?
Definitely! This recipe is all about creativity. You can add nuts, dried fruits, or even flavored chips like butterscotch or mint. The sky’s the limit when it comes to customizing your Campfire S’mores Bark!
These questions are just a few of the many that can arise when making this delightful treat. I hope this section helps clear up any uncertainties and inspires you to dive into the world of Campfire S’mores Bark with confidence. Happy cooking!
Conclusion on Campfire S’mores Bark Recipe
As I wrap up this delightful journey into the world of Campfire S’mores Bark, I can’t help but feel a sense of joy. This recipe is more than just a sweet treat; it’s a way to bring the warmth and nostalgia of campfire nights right into your kitchen. With its rich chocolate, fluffy marshmallows, and crunchy graham crackers, each bite is like a cozy hug that transports you back to those cherished moments spent under the stars.
What I love most about this Campfire S’mores Bark is its simplicity and versatility. Whether you’re hosting a gathering, enjoying a movie night, or simply treating yourself after a long day, this recipe fits the bill perfectly. Plus, it’s a fantastic canvas for creativity—feel free to mix in your favorite flavors and textures!
So, gather your ingredients, unleash your inner chef, and let the magic of Campfire S’mores Bark fill your home with sweetness and smiles. I promise, once you take that first bite, you’ll understand why this recipe has a special place in my heart. Happy cooking, and may your kitchen always be filled with love and laughter!