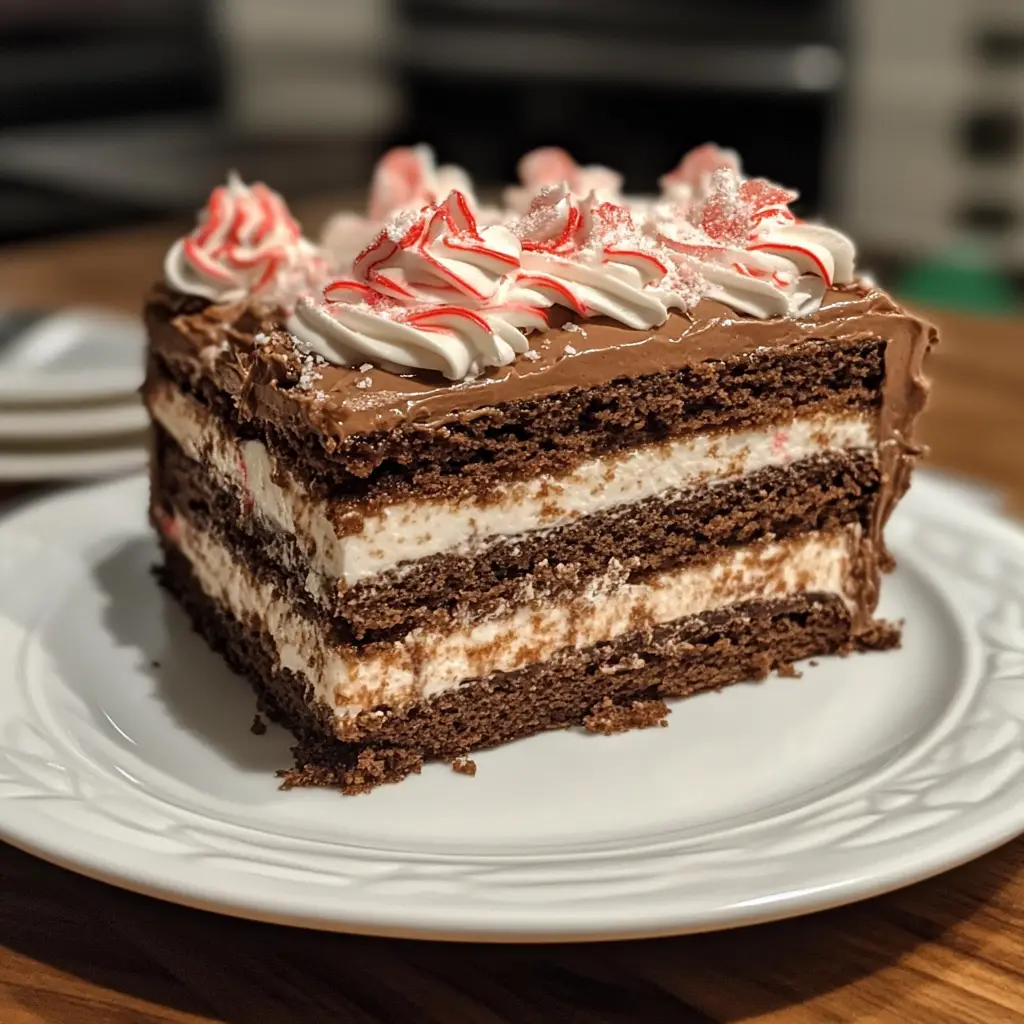
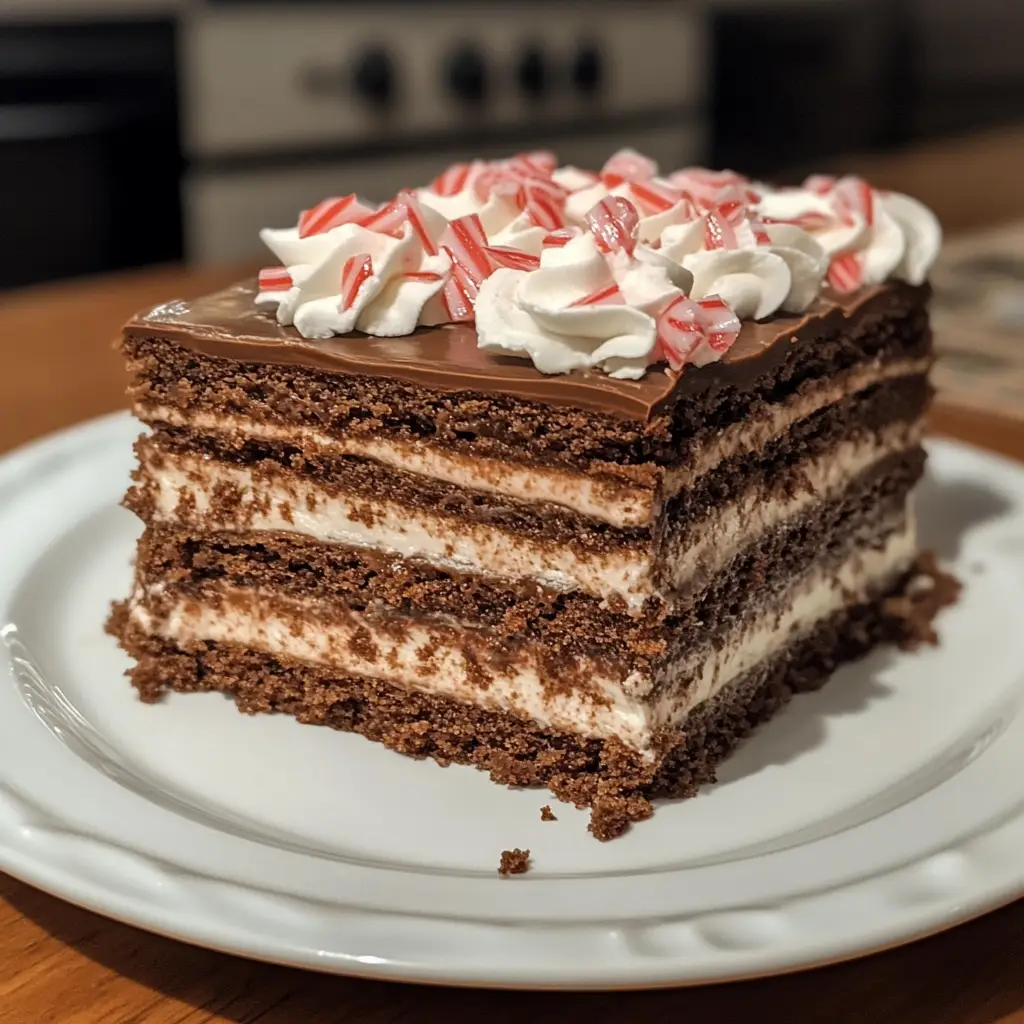
Introduction to Peppermint Mocha Icebox Cake
As the holiday season approaches, I find myself craving something sweet yet simple to whip up. That’s where my Peppermint Mocha Icebox Cake comes in! This delightful no-bake dessert is a quick solution for busy days when you want to impress your loved ones without spending hours in the kitchen. With its rich chocolatey layers and refreshing peppermint twist, it’s the perfect treat to share at gatherings or cozy family dinners. Trust me, this cake will have everyone asking for seconds, and you’ll love how easy it is to make!
Why You’ll Love This Peppermint Mocha Icebox Cake
This Peppermint Mocha Icebox Cake is a dream come true for busy moms and professionals alike. It’s incredibly easy to make, requiring no baking at all! Just whip, layer, and chill. The combination of rich chocolate and refreshing peppermint creates a flavor explosion that’s sure to delight your taste buds. Plus, it’s a make-ahead dessert, allowing you to enjoy more time with your loved ones during the holidays.
Ingredients for Peppermint Mocha Icebox Cake
Gathering the right ingredients is the first step to creating this festive delight. Here’s what you’ll need:
- Chocolate wafer cookies: These are the backbone of your cake, providing a rich chocolate flavor and a satisfying crunch.
- Heavy whipping cream: This is what gives your cake its luscious, creamy texture. It whips up beautifully and adds a lightness to the dessert.
- Powdered sugar: A touch of sweetness that helps stabilize the whipped cream while adding a delightful sugary flavor.
- Vanilla extract: This classic flavor enhances the overall taste, making every bite feel like a warm hug.
- Peppermint mocha coffee creamer: This is the star of the show! It infuses the cake with a delightful peppermint and coffee flavor, perfect for the holidays.
- Crushed peppermint candies: These are optional but highly recommended for garnish. They add a festive touch and a delightful crunch.
For those looking to switch things up, consider using gluten-free cookies or a dairy-free whipping cream alternative. You can find these ingredients at your local grocery store, and if you’re in a pinch, online shopping is always an option!
Exact measurements for each ingredient are available at the bottom of the article for your convenience.
How to Make Peppermint Mocha Icebox Cake
Now that you have all your ingredients ready, let’s dive into the fun part—making this Peppermint Mocha Icebox Cake! Follow these simple steps, and you’ll have a festive dessert that’s sure to impress.
Step 1: Whip the Cream
Start by pouring the heavy whipping cream into a large mixing bowl. Using an electric mixer, whip the cream on medium speed until soft peaks form. This step is crucial because it gives your cake that light, airy texture. You want it to be fluffy, not runny, so keep an eye on it!
Step 2: Add Flavorings
Once you have those soft peaks, it’s time to add flavor! Gently fold in the powdered sugar, vanilla extract, and peppermint mocha coffee creamer. Continue whipping until stiff peaks form. This will create a rich, flavorful whipped cream that’s the heart of your cake.
Step 3: Layer the Cookies
Grab your 9×13 inch baking dish and start layering! Place a single layer of chocolate wafer cookies at the bottom. Make sure they’re close together, but don’t worry about perfection. This is a no-bake dessert, so a little rustic charm is welcome!
Step 4: Spread the Whipped Cream Mixture
Now, take that luscious whipped cream mixture and spread a generous layer over the cookies. Use a spatula to ensure it’s even. This creamy layer is what makes each bite of your Peppermint Mocha Icebox Cake so delightful!
Step 5: Repeat Layers
Continue the layering process! Add another layer of chocolate wafer cookies, followed by more whipped cream. Repeat until you’ve used all your ingredients, finishing with a layer of whipped cream on top. This will create a beautiful, tall cake that’s just begging to be sliced!
Step 6: Chill the Cake
Cover your baking dish with plastic wrap and pop it in the refrigerator. Let it chill for at least 4 hours, or even better, overnight. This chilling time allows the flavors to meld beautifully and gives the cake a wonderful texture.
Step 7: Garnish and Serve
Before serving, sprinkle crushed peppermint candies on top for that festive touch. Not only do they look pretty, but they also add a delightful crunch. Slice, serve, and watch your loved ones enjoy every bite of this Peppermint Mocha Icebox Cake!
Tips for Success
- Make sure your heavy cream is cold for better whipping results.
- Use a clean bowl and beaters to avoid any unwanted flavors in your whipped cream.
- For a stronger peppermint flavor, add a few drops of peppermint extract to the whipped cream.
- Chill the cake overnight for the best flavor and texture.
- Feel free to customize the garnish with chocolate shavings or festive sprinkles!
Equipment Needed
- Mixing bowl: A large bowl for whipping cream. A stand mixer bowl works too!
- Electric mixer: Essential for whipping cream. A whisk can work, but it’ll take longer.
- 9×13 inch baking dish: Perfect for layering. Any similar-sized dish will do.
- Spatula: Great for spreading the whipped cream evenly.
Variations of Peppermint Mocha Icebox Cake
- Chocolate Mint Swirl: Add a layer of chocolate ganache between the whipped cream layers for an extra chocolatey kick.
- Nutty Delight: Incorporate crushed nuts, like walnuts or pecans, into the whipped cream for added texture and flavor.
- Dairy-Free Option: Use coconut cream or almond milk-based whipping cream for a delicious dairy-free version.
- Gluten-Free Version: Swap chocolate wafer cookies for gluten-free cookies to accommodate dietary needs.
- Mocha Madness: Replace peppermint mocha coffee creamer with regular mocha creamer for a different flavor profile.
Serving Suggestions for Peppermint Mocha Icebox Cake
- Pair with a steaming cup of hot cocoa or coffee for a cozy treat.
- Serve alongside a scoop of vanilla ice cream for an extra indulgence.
- Garnish with fresh mint leaves for a pop of color and freshness.
- Present on a festive platter to elevate your holiday table.
FAQs about Peppermint Mocha Icebox Cake
Can I make Peppermint Mocha Icebox Cake ahead of time?
Absolutely! In fact, making it a day in advance enhances the flavors. Just cover it well and store it in the refrigerator until you’re ready to serve.
How long can I store leftovers?
You can keep any leftovers in the refrigerator for up to three days. Just make sure it’s covered to maintain freshness!
Can I use a different flavor of coffee creamer?
Yes! Feel free to experiment with different flavors. Vanilla or hazelnut creamers can add a unique twist to your Peppermint Mocha Icebox Cake.
Is this dessert suitable for a gluten-free diet?
Definitely! Just swap the chocolate wafer cookies for gluten-free alternatives, and you’ll have a delicious dessert that everyone can enjoy.
What can I use instead of heavy whipping cream?
If you’re looking for a lighter option, you can use whipped topping or a dairy-free whipping cream alternative. Just keep in mind that the texture may vary slightly.
Final Thoughts
Creating this Peppermint Mocha Icebox Cake is more than just making a dessert; it’s about bringing joy to your table. The delightful combination of rich chocolate and refreshing peppermint creates a festive atmosphere that warms the heart. I love how this no-bake treat allows me to spend less time in the kitchen and more time with my family. Each slice is a reminder of the sweet moments we share during the holidays. So, gather your loved ones, slice into this cake, and let the laughter and memories unfold. Trust me, it’s a slice of happiness you won’t want to miss!
Print
Peppermint Mocha Icebox Cake: A Festive Delight Awaits!
- Total Time: 4 hours 20 minutes
- Yield: 12 servings 1x
- Diet: Vegetarian
Description
A delicious and festive dessert combining the flavors of peppermint and mocha in a no-bake icebox cake.
Ingredients
- 1 package of chocolate wafer cookies
- 2 cups heavy whipping cream
- 1 cup powdered sugar
- 1 teaspoon vanilla extract
- 1/2 cup peppermint mocha coffee creamer
- Crushed peppermint candies for garnish
Instructions
- In a large bowl, whip the heavy cream until soft peaks form.
- Add the powdered sugar, vanilla extract, and peppermint mocha coffee creamer, and continue to whip until stiff peaks form.
- In a 9×13 inch baking dish, layer chocolate wafer cookies at the bottom.
- Spread a layer of the whipped cream mixture over the cookies.
- Repeat the layers until all ingredients are used, finishing with a layer of whipped cream on top.
- Cover and refrigerate for at least 4 hours or overnight to allow the flavors to meld.
- Before serving, garnish with crushed peppermint candies.
Notes
- For a stronger peppermint flavor, add a few drops of peppermint extract to the whipped cream mixture.
- This cake can be made a day in advance for better flavor.
- Store leftovers in the refrigerator for up to 3 days.
- Prep Time: 20 minutes
- Cook Time: 0 minutes
- Category: Dessert
- Method: No-bake
- Cuisine: American
Nutrition
- Serving Size: 1 slice
- Calories: 350
- Sugar: 25g
- Sodium: 50mg
- Fat: 25g
- Saturated Fat: 15g
- Unsaturated Fat: 5g
- Trans Fat: 0g
- Carbohydrates: 30g
- Fiber: 1g
- Protein: 3g
- Cholesterol: 80mg
Keywords: Peppermint Mocha Icebox Cake, no-bake dessert, festive cake, holiday dessert