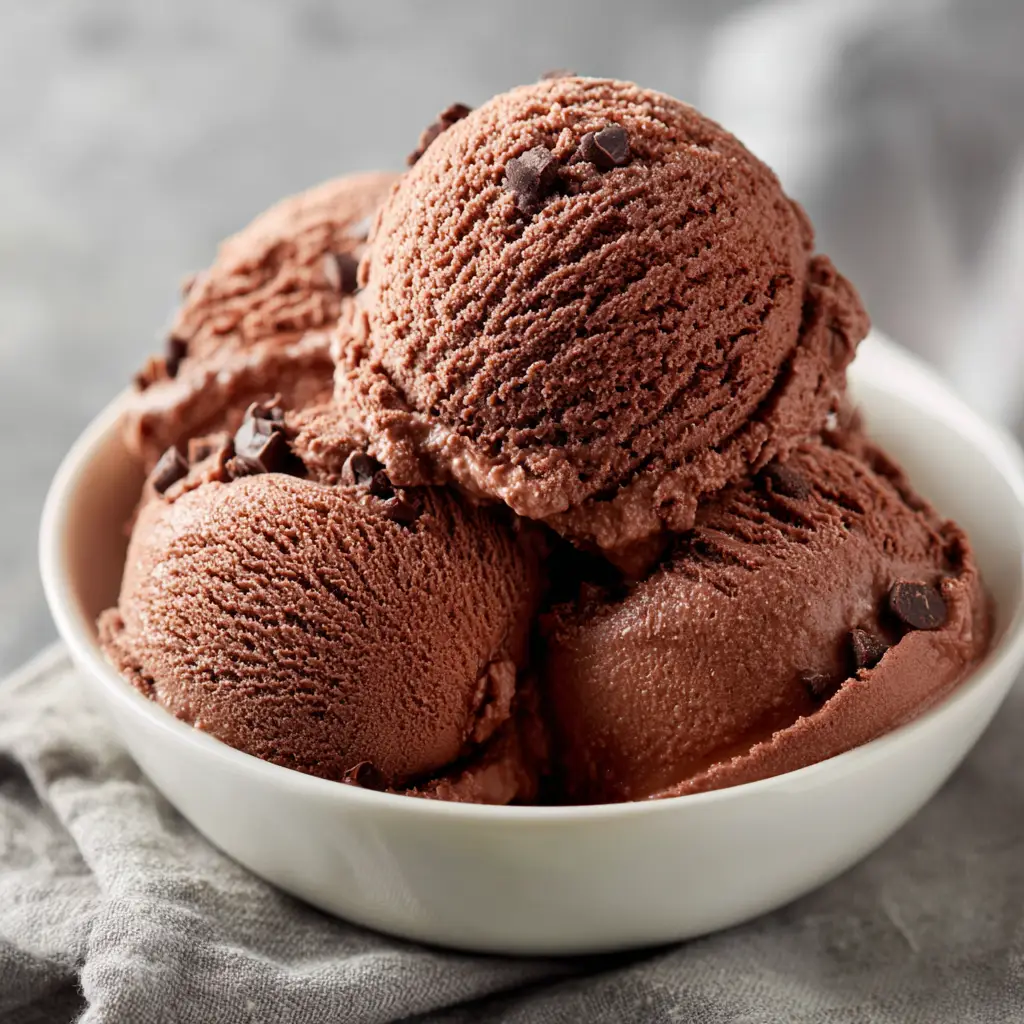
Introduction to Homemade Chocolate Ice Cream
There’s something magical about a scoop of homemade chocolate ice cream that brings back sweet memories. As a busy mom, I know how precious those little moments can be. This homemade chocolate ice cream is not just a treat; it’s a quick solution for a hectic day or a delightful way to impress your loved ones. With just a few simple ingredients, you can create a rich and creamy dessert that will have everyone asking for seconds. So, grab your ice cream maker, and let’s dive into this delicious adventure together!
Why You’ll Love This Homemade Chocolate Ice Cream
This homemade chocolate ice cream is a dream come true for chocolate lovers! It’s incredibly easy to whip up, taking just 15 minutes of prep time. Plus, the rich, velvety texture will make your taste buds dance with joy. Whether you’re treating yourself after a long day or sharing it with family, this delightful dessert is sure to bring smiles all around. Trust me, once you try it, you’ll be hooked!
Ingredients for Homemade Chocolate Ice Cream
Gathering the right ingredients is the first step to creating your homemade chocolate ice cream masterpiece. Here’s what you’ll need:
- Heavy cream: This is the star of the show, giving your ice cream that rich and creamy texture we all crave.
- Whole milk: It adds a smoothness that balances the richness of the cream, making every scoop delightful.
- Granulated sugar: Sweetness is essential! It enhances the chocolate flavor and makes the ice cream irresistible.
- Unsweetened cocoa powder: This is where the chocolate magic happens. It provides that deep, rich chocolate flavor that chocolate lovers adore.
- Vanilla extract: A splash of vanilla elevates the overall taste, adding warmth and depth to your ice cream.
- Chocolate chips (optional): For those who can’t get enough chocolate, adding chips during churning gives a delightful crunch and extra chocolatey goodness.
For those looking to make substitutions, you can use low-fat milk for a lighter version, but the creaminess will be affected. High-quality cocoa powder is a must for the best flavor, so don’t skimp on that!
Exact measurements for these ingredients can be found at the bottom of the article, ready for you to print and take to the kitchen.
How to Make Homemade Chocolate Ice Cream
Now that you have your ingredients ready, let’s get started on making this delightful homemade chocolate ice cream. Follow these simple steps, and you’ll be savoring your creation in no time!
Step 1: Whisk the Base
In a mixing bowl, combine the heavy cream, whole milk, granulated sugar, cocoa powder, and vanilla extract. Use a whisk to blend everything together until it’s smooth and well combined. This is where the magic begins! The mixture should be rich and creamy, with no lumps of cocoa powder. If you want to make it even easier, you can use an electric mixer for a minute or two.
Step 2: Churn the Mixture
Once your base is ready, pour it into your ice cream maker. Follow the manufacturer’s instructions for churning. Typically, this takes about 20-25 minutes. You’ll know it’s ready when the mixture thickens and has a soft-serve consistency. It’s like watching a beautiful transformation happen right before your eyes!
Step 3: Add Chocolate Chips (Optional)
If you’re a chocolate chip lover, now’s the time to add them! During the last few minutes of churning, sprinkle in the chocolate chips. They’ll mix in beautifully, adding delightful little bursts of chocolate in every scoop. If you prefer a smoother texture, feel free to skip this step.
Step 4: Freeze the Ice Cream
After churning, transfer your ice cream to an airtight container. Smooth the top with a spatula, and seal it tightly. Pop it in the freezer for at least 4 hours, or until it’s firm. This step is crucial for achieving that perfect scoopable texture. Patience is key, but trust me, it’s worth the wait!
Step 5: Serve and Enjoy
When you’re ready to indulge, take the ice cream out of the freezer. Let it sit at room temperature for a few minutes to soften slightly. This makes scooping much easier! Serve your homemade chocolate ice cream in bowls or cones, and watch everyone’s faces light up with joy. Enjoy every creamy, chocolatey bite!
Tips for Success
- Use high-quality cocoa powder for a richer chocolate flavor.
- Chill your ice cream maker bowl overnight for better results.
- Don’t skip the freezing step; it’s essential for the right texture.
- Let the ice cream sit at room temperature for a few minutes before scooping.
- Experiment with mix-ins like nuts or fruit for a fun twist!
Equipment Needed
- Ice Cream Maker: Essential for churning. If you don’t have one, a blender can work in a pinch, but the texture may vary.
- Mixing Bowl: A large bowl for whisking your ingredients together.
- Whisk or Electric Mixer: For blending the base smoothly.
- Airtight Container: To store your ice cream in the freezer.
Variations of Homemade Chocolate Ice Cream
- Mint Chocolate Chip: Add a few drops of peppermint extract and chocolate chips for a refreshing twist.
- Peanut Butter Swirl: Fold in creamy peanut butter during the last few minutes of churning for a deliciously nutty flavor.
- Vegan Option: Substitute heavy cream and whole milk with coconut cream and almond milk for a dairy-free delight.
- Spicy Chocolate: Add a pinch of cayenne pepper or cinnamon for a warm, spicy kick that complements the chocolate.
- Fruit Infusion: Blend in pureed strawberries or raspberries for a fruity chocolate experience.
Serving Suggestions for Homemade Chocolate Ice Cream
- Top with whipped cream and a cherry for a classic sundae look.
- Serve alongside warm brownies for a decadent dessert pairing.
- Drizzle with chocolate or caramel sauce for extra sweetness.
- Pair with a scoop of vanilla ice cream for a delightful contrast.
- Garnish with fresh mint leaves for a pop of color and freshness.
FAQs about Homemade Chocolate Ice Cream
As you embark on your homemade chocolate ice cream journey, you might have a few questions. Here are some common queries I’ve encountered, along with helpful answers to guide you along the way!
Can I make homemade chocolate ice cream without an ice cream maker?
Absolutely! If you don’t have an ice cream maker, pour the mixture into a shallow dish and freeze it. Stir every 30 minutes for the first few hours to break up ice crystals. This will help achieve a smoother texture.
How long does homemade chocolate ice cream last in the freezer?
Your homemade chocolate ice cream can last up to two weeks in the freezer. Just make sure it’s stored in an airtight container to keep it fresh and prevent freezer burn.
Can I use low-fat milk instead of whole milk?
Yes, you can use low-fat milk, but keep in mind that it will affect the creaminess of your ice cream. For the best results, stick with whole milk or even try half-and-half for a richer flavor.
What can I do if my ice cream is too hard to scoop?
If your homemade chocolate ice cream is too hard, let it sit at room temperature for about 5-10 minutes before scooping. This will soften it up and make serving much easier!
Can I add other flavors to my chocolate ice cream?
Definitely! Feel free to experiment with flavors like mint, peanut butter, or even coffee. Just add them during the mixing or churning process for a delicious twist on your homemade chocolate ice cream!
Final Thoughts
Making homemade chocolate ice cream is more than just a recipe; it’s an experience filled with joy and nostalgia. Each scoop brings back memories of summer days and family gatherings, where laughter and love are shared over a delicious treat. This homemade chocolate ice cream is a simple way to create those moments, even on the busiest of days. Whether you’re enjoying it alone or with loved ones, every bite is a reminder of the sweet pleasures life has to offer. So, roll up your sleeves, and let’s make some memories together with this delightful dessert!
Print
Homemade Chocolate Ice Cream: Discover Your New Favorite!
- Total Time: 4 hours 15 minutes
- Yield: 4-6 servings 1x
- Diet: Vegetarian
Description
A rich and creamy homemade chocolate ice cream that is easy to make and perfect for chocolate lovers.
Ingredients
- 2 cups heavy cream
- 1 cup whole milk
- 3/4 cup granulated sugar
- 1 cup unsweetened cocoa powder
- 1 teaspoon vanilla extract
- 1/2 cup chocolate chips (optional)
Instructions
- In a mixing bowl, whisk together the heavy cream, whole milk, sugar, cocoa powder, and vanilla extract until well combined.
- Pour the mixture into an ice cream maker and churn according to the manufacturer’s instructions.
- If using, add chocolate chips during the last few minutes of churning.
- Transfer the ice cream to an airtight container and freeze for at least 4 hours or until firm.
- Scoop and serve the homemade chocolate ice cream in bowls or cones.
Notes
- For a richer flavor, use high-quality cocoa powder.
- Let the ice cream sit at room temperature for a few minutes before scooping for easier serving.
- Store any leftovers in the freezer for up to 2 weeks.
- Prep Time: 15 minutes
- Cook Time: 0 minutes
- Category: Dessert
- Method: Ice Cream Maker
- Cuisine: American
Nutrition
- Serving Size: 1/2 cup
- Calories: 300
- Sugar: 25g
- Sodium: 50mg
- Fat: 20g
- Saturated Fat: 12g
- Unsaturated Fat: 8g
- Trans Fat: 0g
- Carbohydrates: 30g
- Fiber: 2g
- Protein: 4g
- Cholesterol: 80mg
Keywords: Homemade Chocolate Ice Cream, Chocolate Ice Cream Recipe, Easy Ice Cream Recipe